
A tropical resort-style pool mosaic brings the look of a destination property into a home, hotel or club through layered motifs and a teal-and-coral palette. Rather than one picture, a resort scheme layers a calm field, a motif border and a feature – a palm, a fish or a reef – so the whole surface feels like a place, not a single image. The style reads relaxed and lush, and it performs well underwater when the motifs have clear silhouettes and the palette stays balanced. This guide explains how to design a tropical resort pool mosaic, from layering the elements to approving samples, installing and caring for the finished surface.
What a tropical resort pool looks like
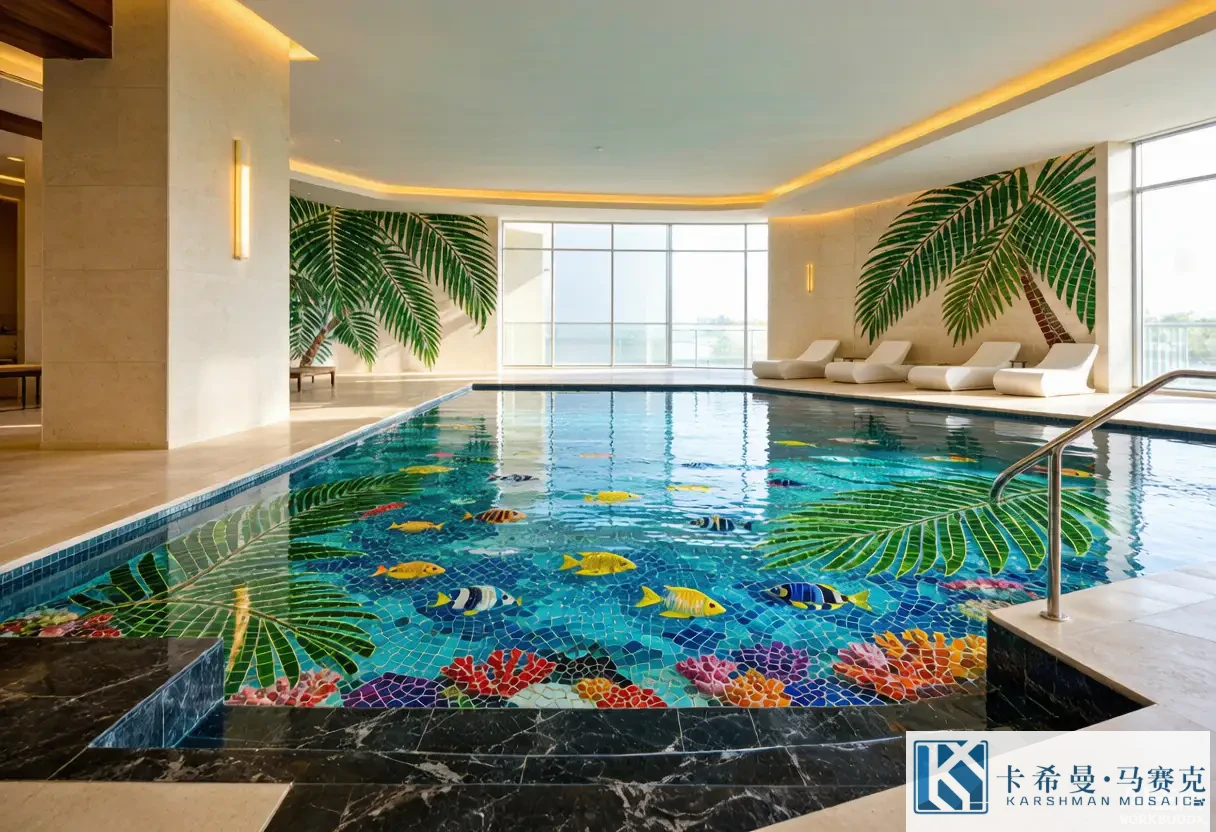
A tropical resort pool reads as a composed escape rather than a plain blue tank. The field is usually a calm aqua or teal that suggests lagoon water. The border carries a motif – a frond edge, a row of fish or a shell line – that frames the water with a holiday note. The feature is a stronger moment: a palm medallion, a hero fish or a small reef scene placed where the eye lands. The warm accents – coral, a touch of sunset – appear as highlights against the cool base. The result feels intentional and relaxed at once, which is the resort character owners are after, and it works as well for a home pool as for a commercial one.
Layering motifs and color
The resort look comes from layering, not from crowding. Start with the calm field as the base. Add one motif border that repeats and frames. Add one feature that acts as the focal point. Keep the palette shared – aqua and teal with a green and a coral accent – so the layers read as one scheme. Layering this way means each element supports the next: the field calms, the border frames, the feature draws the eye. A pool that piles motifs without a calm base reads busy instead of resort-like, so the discipline is to let the field do most of the area and the motifs do the moments.
The tropical field
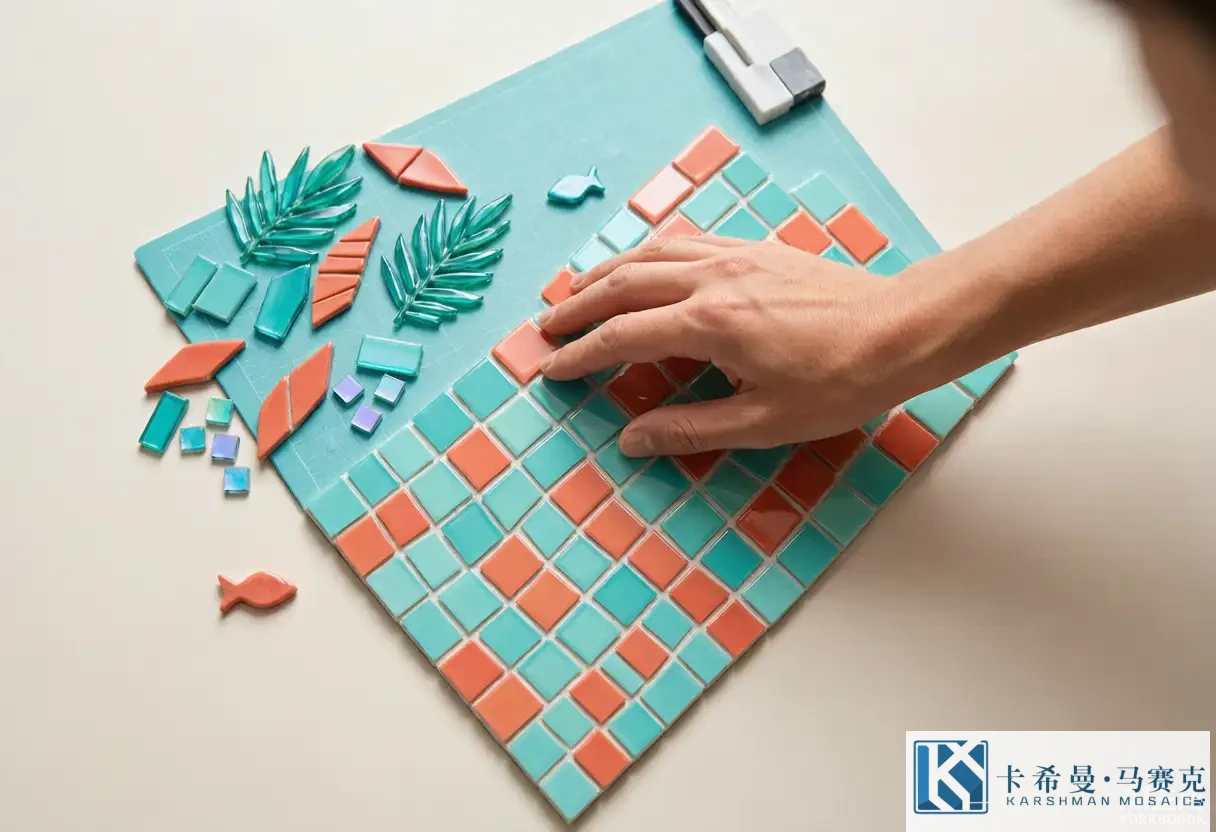
The field is the quiet base of a resort scheme. A single aqua or a step from aqua to teal toward the deep end gives the water a tropical cast without any picture. The field should stay calm so the border and the feature can speak, which also keeps the cost fair because the largest area uses the simplest treatment. A subtle tone step in the field adds interest that reads as designed depth rather than a pattern. Treating the field as a deliberate choice, not the leftover area, is what gives a resort pool its poise and lets the tropical motifs land with impact when the eye reaches them.
The tropical border
The border is where the resort feel often enters first. A frond edge, a fish row or a shell line at the waterline hides the seam between wet and dry tile and gives the water a finished, holiday frame. A second border at the floor perimeter can echo it and tie the scheme together. The border tone should relate to the field – a teal border on an aqua field, a coral line on a teal field – so it frames without fighting. For a freeform pool the border curves with the shape, which is where mesh-mounted sheets earn their keep, and a clean border is what makes a tropical pool look designed rather than merely tiled.
The tropical feature
The feature is the resort centerpiece. It can be a palm medallion at the floor center, a hero fish on a wall, or a small reef scene that unfolds across the floor or a feature wall. The feature carries the warm accents – green leaf, coral fish – and it is where the eye should land. Because it is the visual center, its placement and alignment matter: centered on a rectangular pool, off-center on a freeform one where the gaze falls. One feature, not three, keeps the pool composed; the border and the field support it, and the warm color spends itself on this one strong moment rather than scattered across the surface.
Combining for a resort feel
A balanced resort plan pairs a calm field, one motif border and one motif feature, all in a shared teal-and-coral palette. For example, an aqua-to-teal field, a frond border in green, and a coral fish medallion as the feature reads clearly tropical and composed. The warm tones stay a minority of the surface, so the pool feels calm rather than loud. The combination works because each layer has a job – base, frame, focal point – and the color plan ties them. Following this structure is what separates a resort pool from a collage of tropical stickers, and it keeps the install and the budget predictable.
Materials and finish
Glass is the natural choice for a tropical resort pool because its body color stays true underwater and its range supports the teal-and-coral palette. Glossy glass lifts a shaded pool and adds sparkle that suits a resort; matte glass keeps the tone soft and hides marks in bright sun; iridescent glass shifts color with the angle, enriching a coral or a green accent. For a resort feature, an iridescent accent can add life without a literal image. The finish is part of the color decision, so it belongs in the plan alongside the tones. A sample of each finish on the grid settles the choice, because the same tone can read different in gloss versus matte once the water is in.
Planning steps
A practical resort plan runs in order. Measure the pool and note the shape, the depth changes and the steps. Pick the mood – relaxed, lush, playful. Set a cool base field, then a motif border, then one feature placed where the eye lands. Choose the warm accents and keep them a minority. Pick the tile size by the detail you need. Approve a laid sample of the field, border and feature together, viewed in water or under the pool light, before the volume order. A short list like this prevents the common errors and keeps the pool reading composed once it is full and the surface is fixed for years.
Sample approval
Because water and light change the read, a dry loose tile is not enough for a resort scheme. Ask for a laid sample of the field, the border and the feature, ideally a small panel set with the planned grout, viewed in water or under the pool light. Check that the field stays calm, the border repeats cleanly, and the feature reads with the right contrast. For a reef feature, confirm the subjects read in the right order. This sign-off is the cheapest point to adjust tone or layout, and it gives both sides a reference if a question arises during the install. Treating the sample as the contract settles most disputes before the tile reaches the site.
Installation notes
Installing a resort scheme follows the plan layer by layer. The field sheets are set first as the base, then the border aligns to the waterline and the floor edge, then the feature is centered or placed per the drawing and bedded in adhesive rated for submersion. Movement joints and the waterline are handled so the layers meet flush. Because the feature is often the visual center, its setting has to be true – a tilted medallion or a shifted reef shows at once. A tiler who has set tropical mosaic before will protect the alignment and the motifs; asking for that experience is a reasonable step that keeps the finished picture as drawn rather than a near version of it.
Care of a tropical resort pool
A tropical resort pool needs no special care beyond the pool routine. Balanced water protects the glass and the grout so the teal and coral tones stay true; prompt removal of leaves or debris keeps the surface clear; a soft brush avoids scratching a glossy face. Because the design is fixed in the tile body, there is no pattern to realign and no feature to treat differently. A short care note from the supplier, followed through the season, keeps the colors bright and the motifs sharp for years, which is the quiet payoff of a surface built to sit in the water and carry a resort feel without fine detail to maintain.
Cost factors
A tropical resort scheme costs more than a plain pool because of the motifs and the warm accents, but it stays manageable with the layered approach. The drivers are the feature size, the tile count, the number of colors and the fineness of the detail. A small palm medallion in two tones costs far less than a floor-to-wall reef in many colors. Mixing a custom or stock feature with a calm field and a simple border keeps the spend focused on the focal point rather than the whole pool. Setting a budget by the feature alone, and letting the field stay simple, is a practical way to get a resort look without spreading the cost across every surface.
Working with a studio
A good studio guides the tropical brief. Bring the pool shape, the depth plan and a mood, plus references for the motifs and the palette you like. Say what you want to avoid – too busy, too hot, too plain – as clearly as what you want. Ask for the layout drawing and a laid sample before you commit, and review the balance by squinting at the plan. A good partner will flag a motif that will not read at your depth or a border that fights your shape, and will show the proof before fabrication. Clear brief plus a physical sample is the combination that turns a tropical idea into a pool that feels like a resort from every angle.
Bringing the resort home
A tropical resort pool is not only for hotels. A home pool with a calm teal field, a frond border and one coral fish feature can carry the same escape feel in a backyard, and it reads well in photos and in person. The same layering – base, frame, focal point – works at any scale, so the owner can match the spend to the space. Whether the goal is a private retreat or a destination property, the principle holds: a calm field, a motif border and one strong feature in a shared palette. That structure is what makes a tropical pool look like a resort rather than a themed tank, and it is the plan worth approving before the tile is ordered.
Designing a tropical resort-style pool mosaic layers a calm field, a motif border and one feature in a shared teal-and-coral palette for a destination look that reads well underwater. If you want to plan a tropical resort pool, contact our team for a layout drawing and a laid sample.