
Choosing mosaic tile is easier when you start from the room rather than the color. The space sets the material, the rating and the finish, and the look follows from there. This guide walks the steps that keep a choice practical, from kitchen and bath to pool and feature walls.
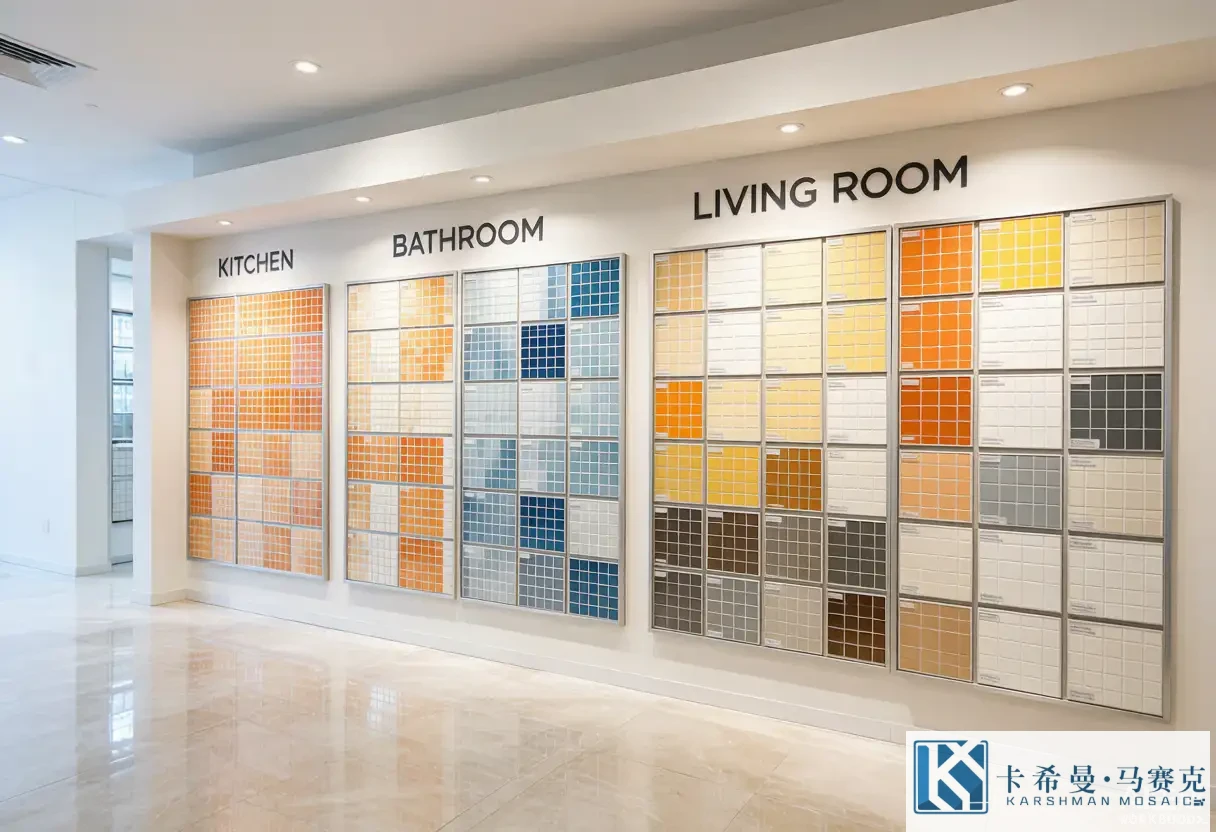
Start with the location
The first question is where the tile goes, because location decides almost everything else. A backsplash faces grease and wiping; a shower floor faces standing water and needs grip; a pool faces chemicals and freeze cycles; a feature wall faces mostly light and touch. Writing the location first keeps the later choices consistent, and it stops a showroom color from driving a decision the room cannot support.
Match material to use
Once the location is clear, pick a material rated for it. Glass and porcelain suit wet, cleanable surfaces; porcelain and rated stone suit floors and outdoors; ceramic suits indoor walls with moderate moisture. Pairing a working material with a decorative one – say a porcelain field with a glass band – gives a practical base and a focal point. Matching the rating to the spot protects both the installer and the owner if a fault is later questioned.
Size, pitch and sheet
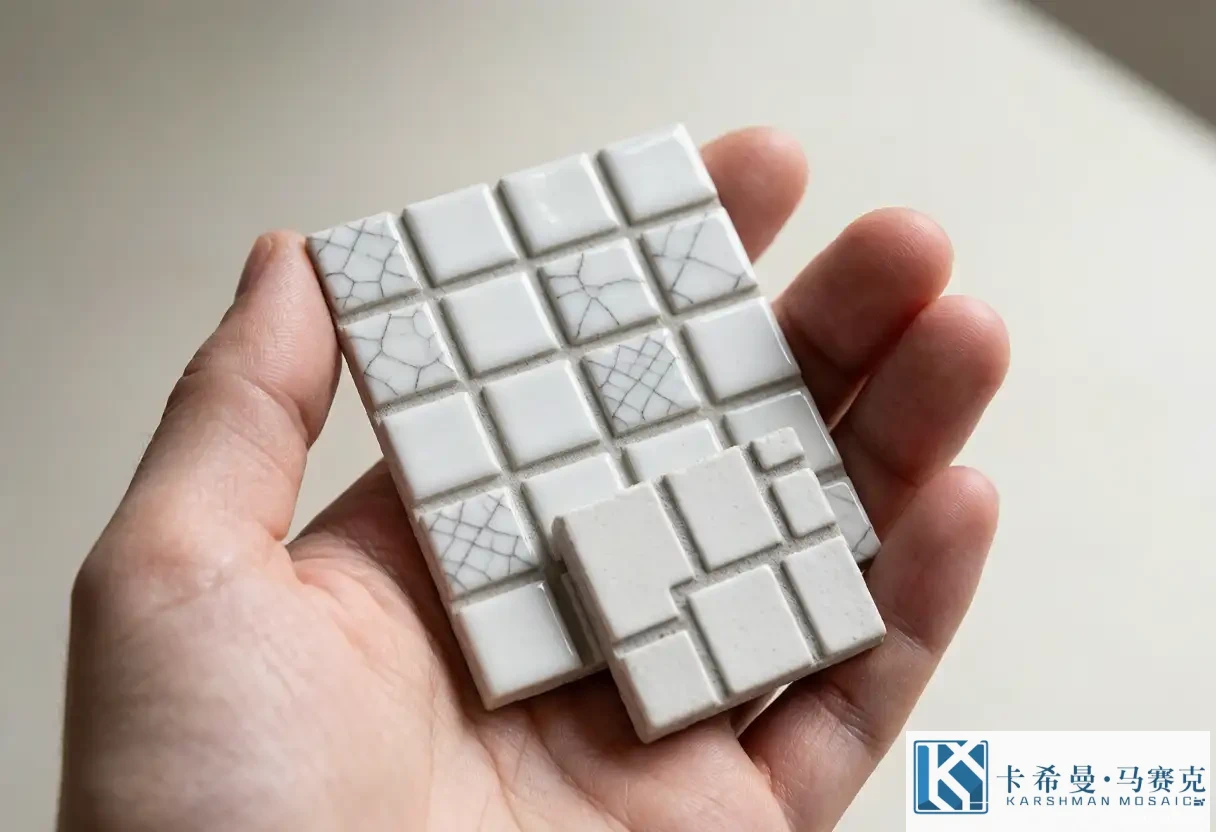
Mosaic scale changes the read and the install. Finer tesserae give a detailed surface but more grout lines; larger pieces read cleaner and set faster. Sheet size and backing type affect how the panel handles and which adhesive suits the wall. For a small area like a niche, finer tile looks right; for a large wall, slightly larger pieces keep the pattern readable. Checking a sheet flat shows how the spacing will look once grouted.
Color and finish
Color should follow the scheme, not lead it. Neutrals – white, grey, sand – pair with most rooms and read as calm; a deeper tone or a band of color adds character without dominating. Finish matters too: glossy glass reflects and brightens, matte reduces glare, textured adds grip in wet zones. Viewing a sample under your own light prevents a color that reads stronger than expected once fixed in place.
Ratings that matter
In wet or outdoor areas, ratings carry weight. Check slip resistance for any floor, water absorption for wet zones, and frost resistance where the space faces cold. These numbers decide whether a tile is safe and whether a warranty holds, so they belong in the spec rather than as an afterthought. Matching the rating to the exact location is a small step that protects the whole job.
Budget and quantity
Budget works better as a plan than a guess. Price moves with material, finish and whether the tile is custom, so set a range and pick where to spend – usually on the working surfaces – and where a simpler spec meets the room. Order with a waste allowance and from one batch so color stays matched. A clear quantity also helps a supplier quote a realistic lead time and avoid a shortfall mid-project.
Sample and sign-off
Before a volume order, approve a physical sample under your lighting and confirm grout color and the install method with your tiler. For custom work, approve the artwork and a laid sample, not just a screen image. This sign-off is the cheapest point to change your mind, and it gives both sides a reference if a question arises later. Treating the sample as the contract settles many disputes before they reach the site.
A short checklist
Pulling it together, the steps are: name the location, pick a rated material, choose scale and sheet, set color and finish, confirm the ratings, plan the budget with waste, and sign off a sample. A short list like this keeps the choice practical and the project on date. Small discipline at the selection stage protects the result once the tile is fixed.
Good mosaic choices start from the room and build outward. If you want help matching a tile to your space, contact our team for sample boards and current lead times.