
Glass mosaic is a finish people recognize on sight, yet few buyers know how the small, bright pieces come to be. The path from raw sand to a mounted sheet involves melting, forming, cutting and careful grading, and each step shapes how the tile looks and performs once installed. This article walks the full process so you can specify and buy with a clear view of what sits behind the surface.
What glass mosaic is made from
The base of nearly every glass mosaic is silica sand, the same material found in window glass. To that, makers add soda ash, which lowers the melting point, and limestone or lime, which gives the body stability. Color comes from metal oxides: cobalt and copper for blues, chromium for greens, iron for greens and ambers, and titanium or tin for whites and opacifiers. A small amount of a stabilizer keeps the glass from breaking down in moisture, which matters for pools and wet rooms.
Beyond the recipe, the raw batch is screened so grain sizes stay even. Even feed means even melting, and even melting means even color in the finished sheet. Plants that skip this step tend to show faint shade bands that a buyer only notices after the tile is fixed to the wall, when the cost of rework is far higher than the cost of screening up front.
Two main production routes
Decorative glass mosaic generally follows one of two routes. The first casts molten glass into slabs that are later cut into tesserae; this is common for solid-color and translucent tile. The second fuses layers or uses recycled glass cullet pressed and fired into shape; this suits textured and some recycled ranges. Both start with a hot, liquid glass and both end with small pieces on a backing, but the forming step changes the surface feel and the cost, so the route partly explains the price you see on a quote.
Step 1: Batching and melting
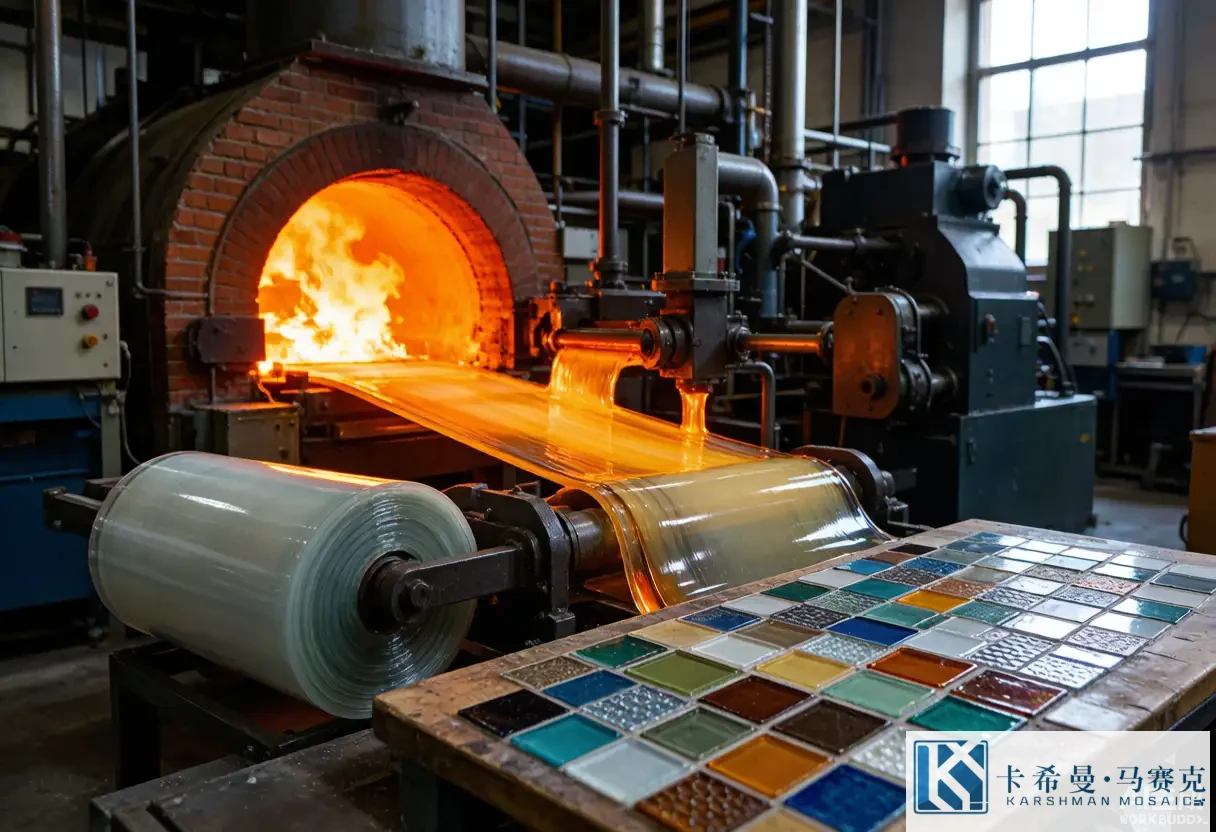
The dry mix is weighed by formula and loaded into a furnace held around fifteen hundred degrees Celsius. At that heat the batch becomes a clear, glowing liquid. Melt time depends on the color and the furnace, and a longer, steadier melt gives a cleaner, bubble-free body. Operators sample the melt to check that the hue matches the reference before any glass is drawn off, because a small drift at this stage repeats across an entire run and is hard to correct later.
Step 2: Forming the glass
Once melted, the glass is formed. In casting, liquid glass is poured onto a cooled table or rolled into a ribbon of set thickness. In fusing, cut pieces or powders are laid in a mold and fired so they bond. The method decides the tile’s edge and face: rolled glass gives flat, even sheets, while fused work can keep a handmade, slightly uneven charm that some designs want. Neither route is right for every job; the brief should pick the route rather than habit.
Step 3: Annealing
Fresh glass holds internal stress from cooling too fast, and stressed glass chips easily. To remove it, the hot glass passes through an annealing lehr – a long, gently cooling tunnel. Slow cooling lets the structure settle so the tile can later be cut and handled without cracking. A plant that anneals well ships tile that cuts cleanly on site and resists edge damage during transport, which is one reason two cartons from different makers can feel very different in the hand.
Step 4: Cutting the tesserae
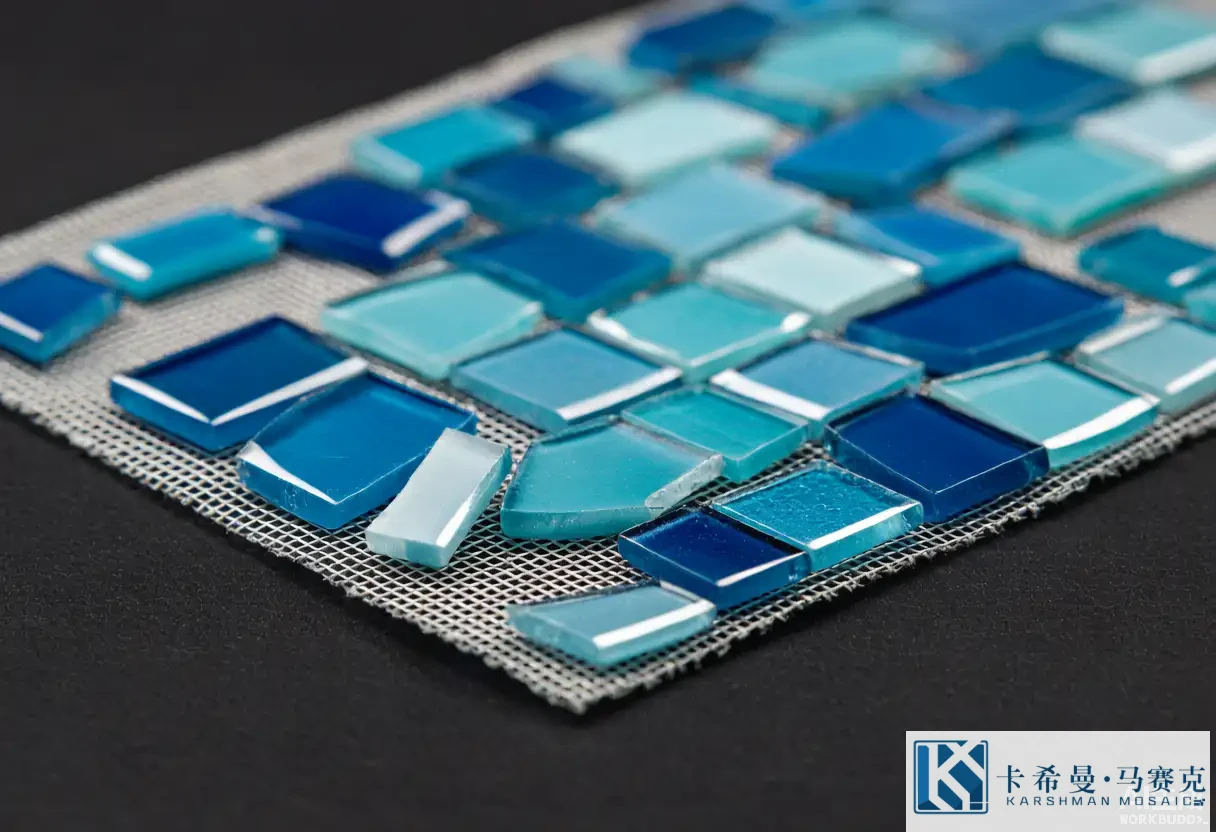
Annealed sheets are cut into the small squares or shapes of mosaic. Wheel cutting scores and snaps the glass with a measured tool; waterjet cutting uses a fine, high-pressure stream for shapes that a wheel cannot reach. The cut quality shows in the edge: a clean, square edge sets tight to its neighbor, while a ragged edge leaves a grout line that looks uneven once the wall is finished. Cutting also sets the pitch – the spacing between pieces – because the tesserae are sized to a planned grid, and consistent sizing is what lets a whole sheet read as one pattern rather than a random scatter.
Step 5: Sorting and grading
After cutting, pieces are graded by size, color and surface. Color sorting is the quiet strength of a good sheet: within a single batch, tiles are pulled into tight shade groups so a wall does not show a patch of lighter and darker squares. Size grading keeps the grid regular. Plants that grade by hand tend to hold tighter tolerances than those that rely on screens alone, and the difference shows on a large installed area where even a small shade gap becomes obvious across a few meters of wall.
Step 6: Mounting on backing
The small pieces are then mounted on a backing to make them installable. Mesh backing uses a fiber grid with adhesive dots; the installer sets the whole sheet and the mesh stays buried in the adhesive. Paper backing faces the front, is set face-down, then soaked and peeled after the adhesive cures. The choice of backing affects which adhesive works and how the sheet handles on a curved or vertical surface, so it belongs in the spec rather than as an afterthought at the tiler’s van.
Quality checks
Before packing, finished sheets pass checks for flatness, color match to the reference, chip rate and water absorption where rated. A flat sheet lies flush on a substrate; a matched color keeps batches consistent; a low chip rate protects the look; and a verified absorption grade tells you where the tile may be used. These checks are routine at a sound plant and are the reason a buyer can trust a carton without opening every sheet, while a plant that skips them leaves the risk on the installer.
Recycling and material care
Many glass mosaic ranges use recycled cullet – reclaimed glass – as part of the batch. Using cullet lowers the energy needed to melt and gives a second life to material that would otherwise be waste. The result is a tile with the same look and performance as one made from virgin sand, which suits projects that track the share of reclaimed content in their finishes and want a documented material story for a client or a panel.
How making affects performance
The process links directly to performance. Even melting and annealing give a stable tile that resists thermal shock in a pool or spa. Tight grading keeps the surface even underfoot. A correct backing lets the adhesive grip on a wet wall. Knowing these links helps you read a spec sheet: a line that states absorption, annealing and grading tells you the maker controls the steps that matter, while a sheet with no data leaves you guessing from a photo.
Specifying by method
When you choose glass mosaic, the making method can guide the pick. Cast, solid-color tile suits pools and waterlines where a clean, uniform face is wanted. Fused or textured ranges suit feature walls where a handmade read is welcome. Recycled-content lines suit projects with a material-tracking goal. Asking a supplier which route a range uses is a reasonable step that pays off in a result that matches the brief instead of a look chosen from a thumbnail.
Reading a sample with this in mind
With the process in view, a sample tells you more. Hold it to the light to see how the glass carries color; check the edge for a clean cut; note the backing type; and compare two sheets from the same batch for shade. A short check like this, done before a volume order, catches the issues that a photo cannot, and it keeps the installed wall close to what you approved rather than a surprise on delivery day.
Color batches and project consistency
Because glass color is sensitive to the melt, a long project should draw from a single production batch where possible. When a job spans more than one carton, matching the batch code keeps shade even across a large wall. If a top-up order is needed months later, asking the supplier for the same batch is a reasonable step, and where that is not possible, blending the new carton into a less visible zone hides the shift. Planning the quantity with a realistic waste allowance up front reduces the chance of a mismatch forced by a shortfall.
Common defects and how grading catches them
Even at a sound plant, a few pieces may show a chip, a bubble or an off shade. Grading removes the obvious ones, but a buyer can still check a carton on arrival: open one sheet, hold it to the light, and look for edge chips or trapped bubbles. A small number of defects is normal; a sheet full of them is a sign to query the supplier before fixing anything. Catching this at delivery is far cheaper than discovering it after the adhesive has set.
Reading a technical data sheet
A useful habit is to read the data sheet the maker provides. Look for water absorption, the rated slip value where given, the annealing note, the backing type and any frost rating. These lines tell you the limits of the tile and the places it may be used. A sheet with full data supports a confident spec; one with no data leaves the choice to chance. Spending a few minutes on the document often prevents a poor match between tile and location.
Cost drivers in the making
The making method also explains price. Cast solid-color tile is comparatively straightforward and sits at a moderate cost; fused and handmade ranges cost more because of the labor and the lower yield; recycled-content lines vary with the cullet source and the sorting needed. Knowing which step adds cost helps a buyer decide where to spend and where a simpler spec meets the room. A clear view of the cost drivers keeps a budget honest rather than a guess from a single headline price.
From sheet to wall: what the process asks of the installer
The finished sheet arrives ready, but the making still shapes the install. Mesh backing needs an adhesive that reaches through the gaps; paper backing needs a face-down set and a later soak; fine tesserae need a steady hand and even pressure. Sharing the backing type and the pitch with the tiler before the day of the job avoids a mismatch of method and material. A short conversation about the sheet, held early, protects the finish that the factory worked to produce.
Glass mosaic is the product of a long, controlled process rather than a single step, and that process is why the small bright pieces perform as they do. If you want to compare ranges and see the making reflected in the sample, contact our team for current lines and lead times.