
Ceramic mosaic is one of the older tile finishes still made, and it remains a practical choice for walls, floors and wet rooms. Unlike glass, which is melted and cast, ceramic starts as clay and is hardened by fire. This article explains what ceramic mosaic is, how it is made from raw earth to finished sheet, and the main types you will meet when specifying or buying.
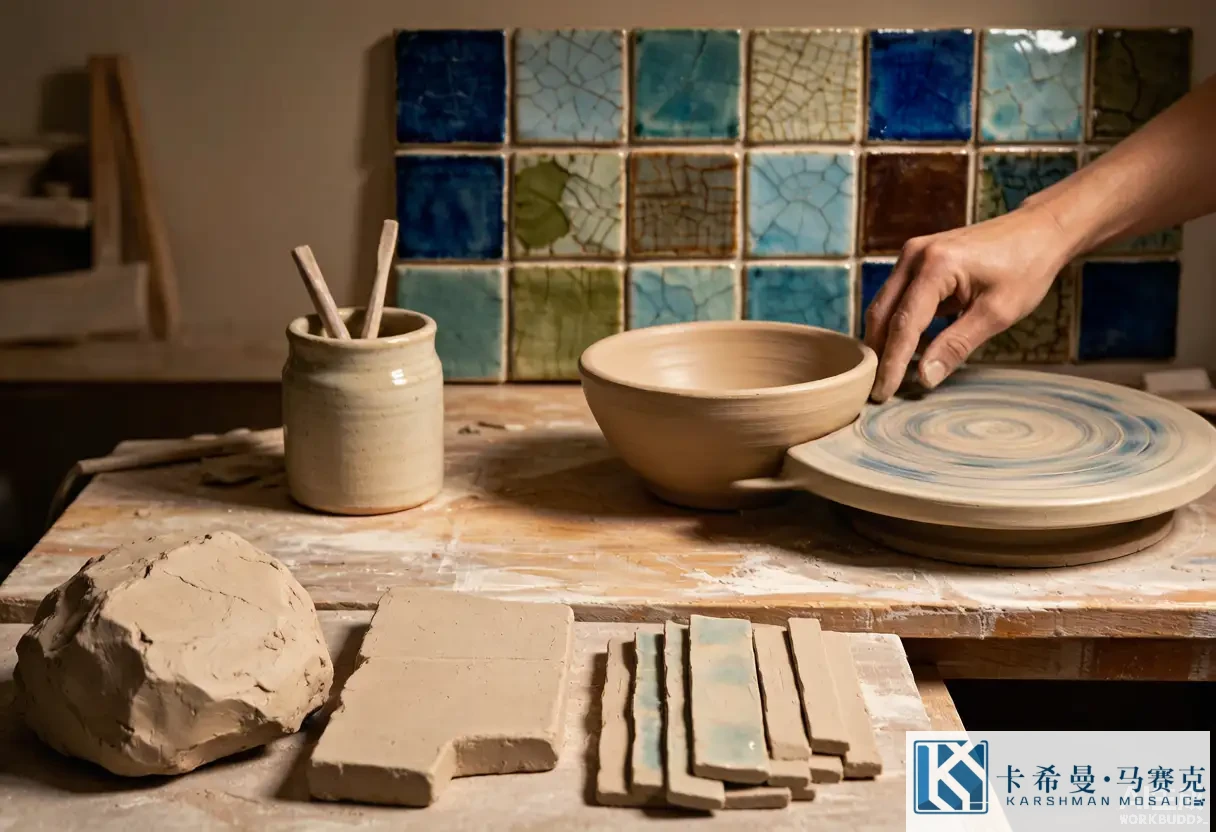
What ceramic mosaic is
Ceramic mosaic is a surface made from many small clay-based pieces rather than a few large tiles. The small pieces, called tesserae, are fixed to a backing sheet so an installer can handle a whole panel at once. Because the units are small, the finished surface follows curves, corners and slopes that a large tile would fight. That simple idea is why ceramic mosaic appears in baths, kitchens, pools and entries across the world.
Raw materials
Ceramic body starts with clay, the fine earth that hardens when fired. To that, makers add feldspar and silica, which help the body fuse and hold its shape, and kaolin, which gives whiteness and workability. Color in the body comes from iron and other minerals that fire to buff, red or grey; surface color comes mostly from a glaze. The mix is screened and weighed so each batch behaves the same in the press and the kiln, which keeps the finished pieces consistent from one carton to the next.
Two firing routes
Most ceramic mosaic follows one of two routes. The common route presses a body, fires it once to a bisque, coats it with glaze, then fires it again to set the glaze. A second route makes a dense, through-body tile – often called porcelain – that is fired to a higher temperature and may carry color through the whole piece rather than only on the face. The route decides the density, the water take-up and the look, so it partly explains the price you see on a quote and the places the tile may be used.
Step 1: Body preparation
The dry raw mix is blended with water into a slip or a damp press powder, depending on the method. The goal is an even, air-free body that presses cleanly. Even preparation means even firing, and even firing means even size and shade in the finished tesserae. Plants that control this step ship tile that sets true to the grid; those that rush it tend to show slight warps a tiler notices on the wall once the sheet is laid.
Step 2: Forming the tesserae
The body is pressed into the small shapes of mosaic. A die presses the powder under high pressure into squares or other shapes; the pressure decides how dense the piece becomes. Higher pressure gives a harder, lower-absorption tile, which matters for floors and outdoors. The pressed shape sets the pitch – the spacing between pieces – because the tesserae are sized to a planned grid, and consistent sizing is what lets a whole sheet read as one pattern rather than a scattered set.
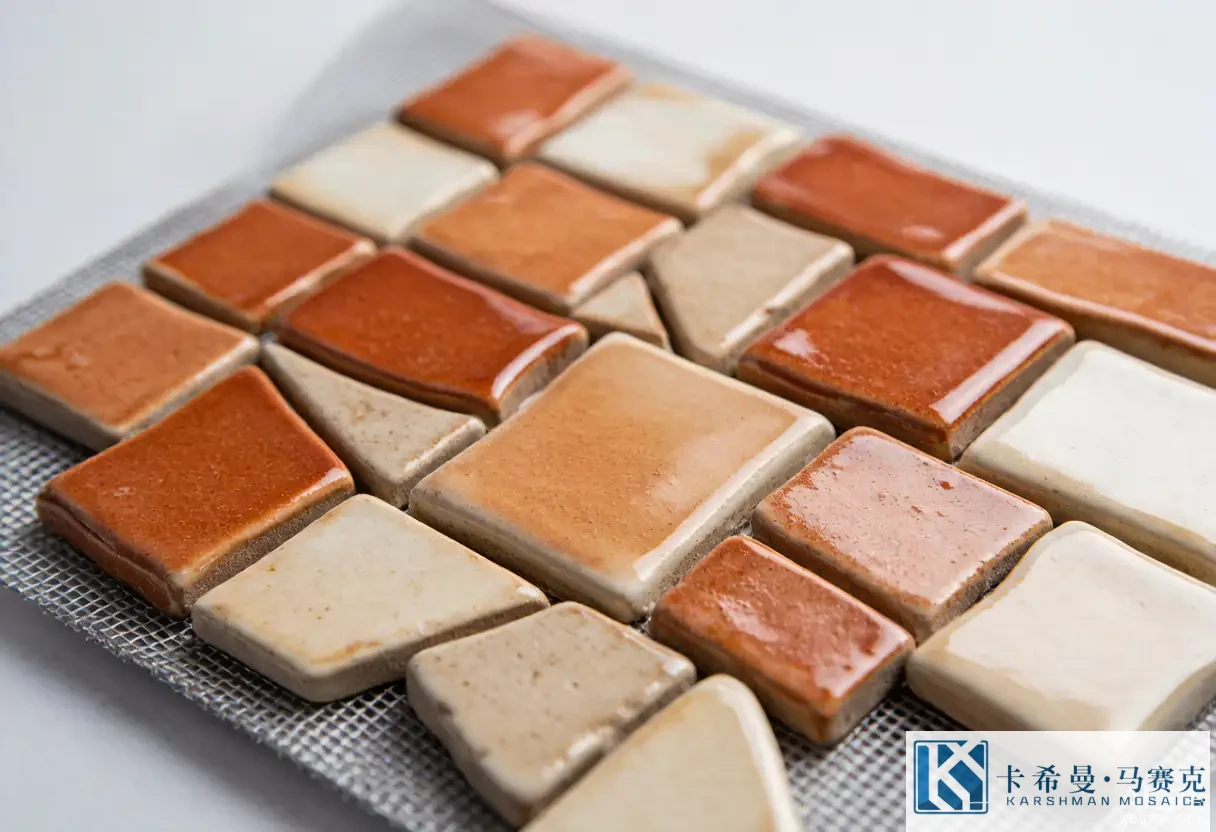
Step 3: Bisque firing
The pressed pieces are fired in a kiln at several hundred degrees to harden the body. This first firing drives off water and locks the shape so the tile will not shrink later. Good control of the kiln curve avoids warping and cracking, and it gives a stable base for the glaze. A well-fired bisque is the quiet foundation of a tile that performs for years once fixed in place, and its quality shows in how flat the sheet lies on the substrate.
Step 4: Glazing
For glazed types, a thin coat of glass-like material is applied to the face. The glaze brings color, sheen and a sealed surface that resists stains. Glazes range from glossy to matte, and the choice changes both the look and the care: glossy reads bright and wipes easily, matte softens glare and hides marks. The glaze is what gives ceramic much of its wide color range, since the body underneath can stay neutral while the face carries the hue across a room.
Step 5: Glost firing
The glazed pieces return to the kiln for a second firing that melts the glaze onto the body. At this heat the glaze bonds and develops its final color and finish. Control here avoids pinholes, crazing and color drift between batches. A maker that manages the glost firing well produces tile with an even, durable face; one that does not leaves a surface that can mark or fade sooner than expected under daily use.
Step 6: Grading and mounting
After firing, pieces are graded by size, shade and surface, then mounted on a backing. Mesh backing uses a fiber grid with adhesive dots; paper backing faces the front and is peeled after setting. Grading keeps the grid regular and the shade tight across a sheet; mounting makes the panel installable. These final steps are why a buyer can open a carton and trust the sheet without checking every piece by hand before the job.
The main types
Three types cover most needs. Glazed ceramic mosaic carries a colored, sealed face and suits walls and light-traffic areas. Unglazed or quarry mosaic has no surface coat, reads earthy and hard-wearing, and suits floors where grip matters. Porcelain mosaic is fired denser, takes up less water and suits floors, outdoors and wet rooms. Knowing the type tells you the rating and the right place, so the label on the carton is worth a close read before you buy.
Color and finish options
Ceramic offers a broad palette because the glaze carries color. Whites, creams, terracotta, grey and a range of blues and greens are common, and matte, gloss and textured finishes are all available. The warm, earthy base of ceramic gives it a character that reads different from the cool brightness of glass. For a calm scheme, neutrals pair with most rooms; for a feature, a single strong tone in a niche or band adds character without dominating the whole space.
How making affects performance
The making links directly to performance. Density from high pressure and high firing lowers water take-up, which helps outdoors and wet zones where frost and soaking are a risk. A good glaze seals the face against stains in a kitchen or bath. Tight grading keeps the surface even underfoot. Reading the data – absorption, frost rating, slip value – tells you whether the tile fits the location, and a sheet with that data supports a confident spec rather than a guess from a photo.
Specifying by type
When you choose ceramic mosaic, let the type follow the place. Walls and backsplashes suit glazed ceramic; floors and entries suit porcelain or unglazed for grip; outdoor and pool-adjacent areas suit porcelain rated for frost. Asking a supplier which type a range is, and checking the rating, is a reasonable step that pays off in a result matched to the brief rather than a look chosen from a screen alone.
Reading a sample
With the process in view, a sample tells you more. Hold it to the light to see the glaze and the shade; check the edge for a square, true cut; note the backing type; and compare two sheets from the same batch for shade. A short check like this, done before a volume order, catches the issues a screen cannot, and it keeps the installed wall close to what you approved rather than a surprise on delivery day.
Body color and what it means
The body color of ceramic mosaic is set by the clay and minerals, and it matters more than many expect. A red or terracotta body reads warm and pairs with wood and stone; a buff or grey body reads neutral; a white body gives the clearest base for a light glaze. Because the body shows at the grout line and at any chip, choosing a body that sits close to the glaze color keeps small flaws less visible over time. A quick look at the tile edge tells you the body, and that view helps you judge how the sheet will age once it is on the wall.
Glaze types in more detail
Glazes are not all the same. A gloss glaze reflects light and reads bright, a matte glaze softens the surface and hides light marks, and a textured or structured glaze adds a raised feel that also helps with grip. Some ranges use a reactive glaze that shifts tone across the sheet for a handmade look. Matching the glaze to the room – bright in a dim kitchen, matte on a wet floor – keeps the finish both good-looking and practical once it is installed and in daily use.
Sizing, pitch and sheet formats
The size of the tesserae and the pitch between them shape the read and the install. Finer pieces give a detailed surface but more grout lines; larger pieces read cleaner and set faster. Sheet size affects how the panel handles on a curved or vertical surface, and the backing type decides which adhesive suits the wall. For a small area like a niche, finer tile looks right; for a large wall, slightly larger pieces keep the pattern calm. Checking a sheet flat shows the spacing once grouted.
Frost and outdoor rating
Outdoor ceramic mosaic faces cold that indoor tile does not. A dense, low-absorption body resists frost damage because little water sits inside to expand when frozen. In regions with hard winters, confirm the tile and the setting system are rated for the local low, and detail the movement joints so the surface can expand and contract. A small check of the rating avoids a crack that appears only after the first cold season, which is far harder to fix than to prevent at the planning stage.
Reading a technical data sheet
A useful habit is to read the data sheet the maker provides. Look for water absorption, the rated slip value where given, the frost rating, the backing type and any chemical resistance noted. These lines tell you the limits of the tile and the places it may be used. A sheet with full data supports a confident spec; one with no data leaves the choice to chance. Spending a few minutes on the document often prevents a poor match between tile and location that would show up after installation.
Ceramic mosaic is the product of earth and fire, shaped through pressing and firing into small, useful pieces. If you want to compare ceramic ranges and see the making reflected in the sample, contact our team for current lines and lead times.