
Pool mosaic puzzle design is the art of building a swimming pool surface from thousands of small glass pieces arranged into borders, a central motif and a repeating field. The word puzzle fits because the finished picture only appears once every tesserae is placed on the grid. A well-planned design frames the water, draws the eye to a focal point and gives the pool a character that a single flat color cannot. This guide walks through the layers of a pool mosaic design and how to match each one to the shape and use of your pool.
What pool mosaic puzzle design means
At its core, pool mosaic design is composition. Rather than tiling the whole pool in one tone, a designer divides the surface into zones – a field that fills most of the area, a border that frames it, and a feature such as a medallion or a creature at the center. Each zone is built from small, mesh-mounted sheets so the installer handles panels instead of loose pieces. Because glass mosaic sits in fully submerged, chemical-rich water, the design is both decorative and practical: it should read clearly underwater and stay fixed for years. The planning is where the look is won, long before the first sheet is set.
The three layers of a pool design
Most pool mosaic schemes rest on three layers. The field is the background tone or pattern that covers the largest area, usually the pool floor and lower walls. The border is a band that runs around the waterline, the floor edge or a step, giving the eye a finished frame. The feature is a medallion, a logo or a scene placed where swimmers and viewers will notice it – often the floor center or the shallow end wall. Treating the surface as field plus border plus feature keeps the plan simple and helps you budget, because a strong border and one feature can carry a design without covering every wall.
Borders that frame the water
A border is the easiest way to make a pool look designed rather than tiled. A single contrasting band at the waterline hides the seam between wet and dry tile and gives the water a crisp edge. A second band at the floor perimeter can echo it and tie the scheme together. Borders can be a simple line of a darker tone, a rope or wave motif, or a row of small repeating shapes. The key is restraint: a border should frame, not fight, the field. For a rectangular pool a straight border follows the lines; for a freeform pool the border curves with the shape, which is where mesh-mounted sheets earn their keep.
Central medallions and motifs
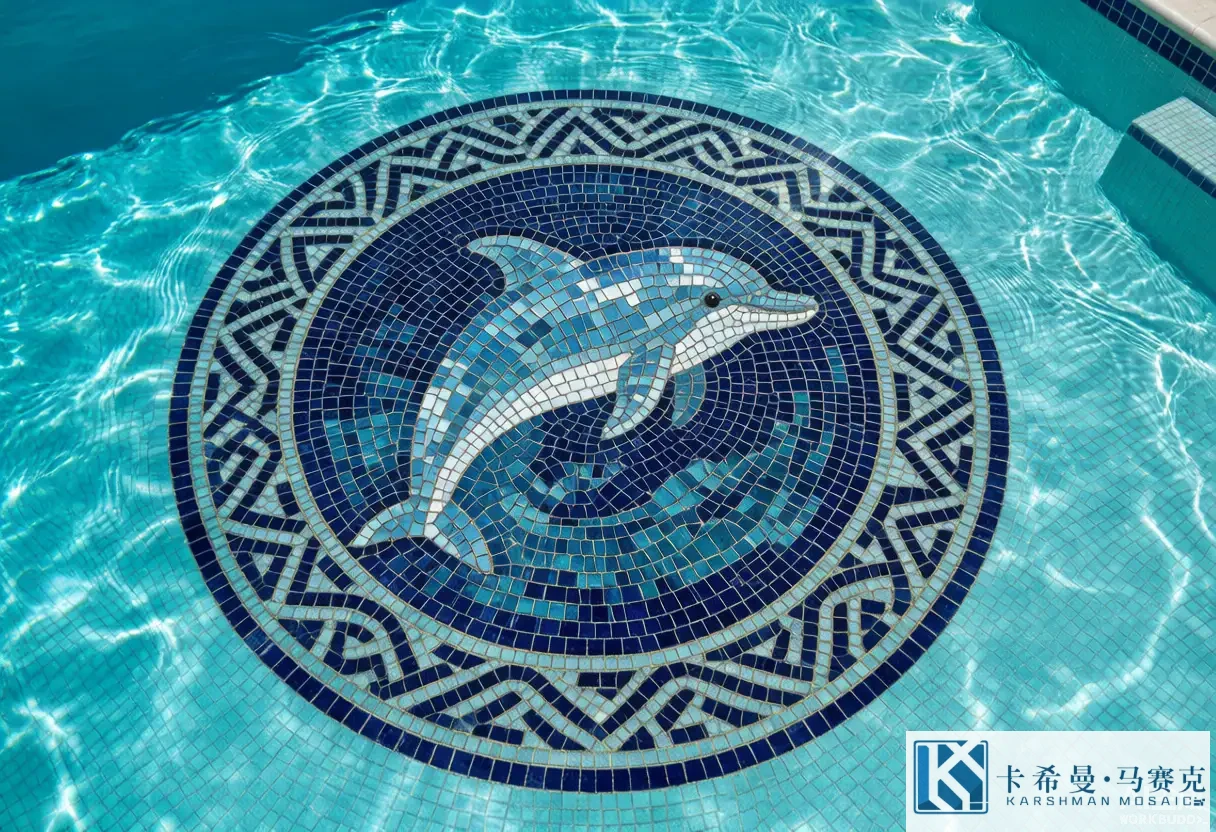
The medallion is the showpiece. Classic pool medallions are a star, a compass rose, a shell or a sea creature set into the floor center, built from many colors so the image reads from above the water. A motif can also be a monogram, a family crest or a brand mark for a hotel or club. Because the medallion sits still while water moves over it, the contrast between the figure and the field matters more than fine detail, which can blur underwater. A well-built medallion reads as a clear shape from the deck and gains depth as the light plays through the water above it.
Repeating field patterns
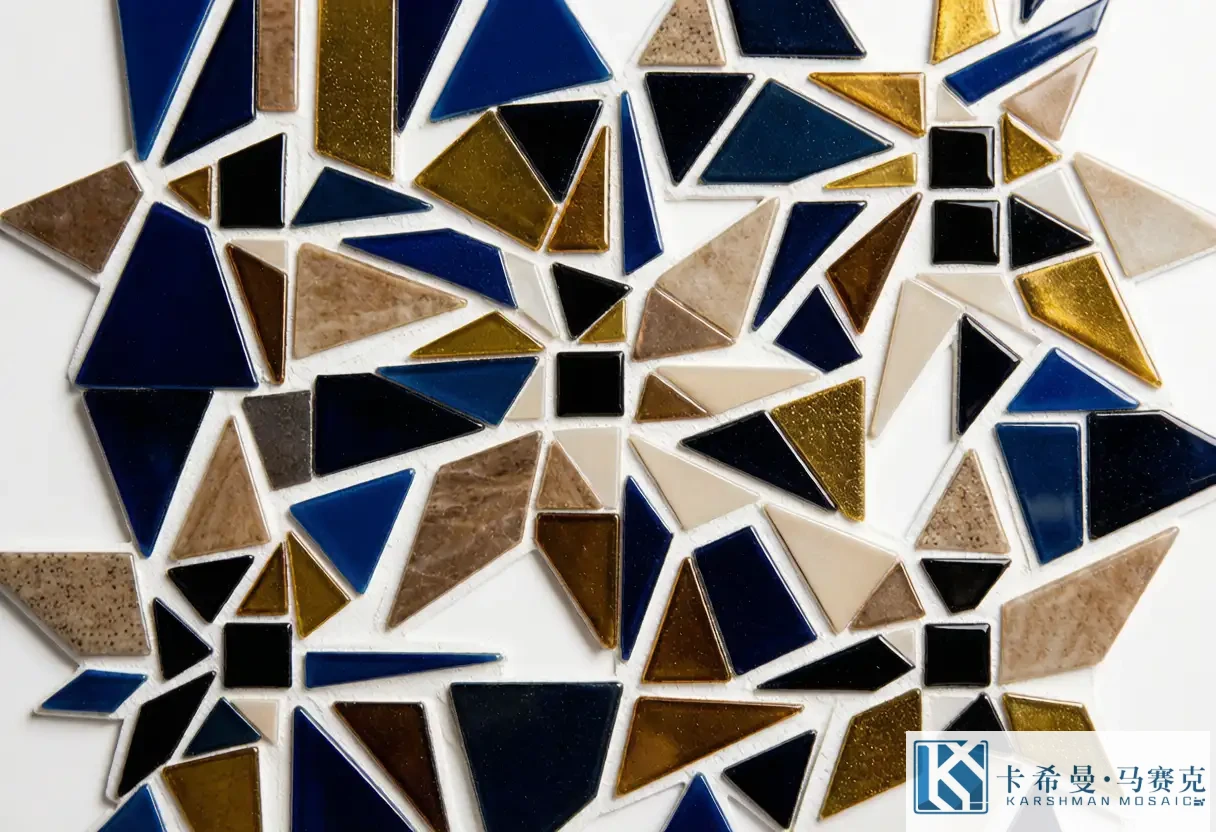
The field need not be plain. Repeating patterns built from the small pieces add movement without a custom feature. A grid of squares is the quiet default; a brick or running-bond layout shifts the lines for a softer read; a herringbone adds energy; a wave or chevron pattern suggests water even before the pool is filled. Geometric repeats such as a star or a diamond field turn the whole floor into a low-relief picture. The choice sets the mood: calm and ordered for a grid, lively for a wave or herringbone, formal for a star. Each pattern is made from the same sheets, so the cost is mostly in the planning rather than the material.
Matching pattern to pool shape
The pool shape should guide the pattern. A rectangular pool suits straight borders and grid or brick fields that follow its lines, with a centered medallion as the focal point. A round or oval pool asks for radial borders and a circular medallion that matches the curve. A freeform pool works with a border that traces the edge and a feature placed off-center where the eye lands. A long, narrow lap pool often reads well with a running pattern down its length. Matching pattern to shape avoids the awkward moment where a square motif fights a curved wall, and it keeps the install cleaner because fewer sheets need cutting to fit.
Scale and tile size
Scale shapes how a pattern reads. Small tesserae, around 20 millimeters or less, let a medallion show fine detail and follow tight curves, which is why custom art uses them. Larger pieces, near 48 millimeters, read bolder and suit simple borders and fields where the picture is broad. For a medallion with a creature or a face, smaller pieces carry the image; for a plain wave border, larger pieces are enough and faster to set. The tile size also affects the grout lines, which become part of the pattern, so the scale choice is really a choice about the whole surface, not just the pieces.
Color within a pattern
Color carries the pattern as much as the layout. A border in a tone a few steps darker than the field defines the edge without shouting. A medallion needs two or three values – a light, a mid and a dark – so the shape separates from the background under moving water. A repeating field can stay monochrome for calm or use two tones to make the geometry pop. The safe approach is to let the field be quiet and spend the color on the border and the feature, so the pool reads composed from a distance and reveals detail up close. Too many colors across the whole floor can read busy rather than rich.
Light, water and depth
Pool mosaic lives under water, so light and depth change the design after it is built. Deeper water darkens and cools a tone; shallow water keeps it bright. Sun from above adds sparkle to glossy glass; a shaded pool keeps tones soft. A pattern that looks strong on a dry sample can shift once the pool is filled, which is why designers approve a laid sample under water where possible. Planning for the water means choosing values that hold up at depth and a contrast that survives the play of light, rather than trusting a color seen dry on a board.
Standard versus custom design
Many projects start from a standard catalogue design – a known border, a stock medallion, a proven field – and adjust the colors. This path is faster and lower risk because the layout is tested. A fully custom design, where the motif and the pattern are drawn for the pool, gives a one-of-a-kind result but needs drafting, proofing and sign-off. The middle path is popular: take a standard pattern and swap the palette, or place a stock medallion in a custom color field. Deciding early which route you want keeps the timeline and the budget clear before work begins.
Planning steps
A practical plan runs in order. Measure the pool and note the shape, the depth changes and the steps. Pick a field tone, then a border that frames it, then one feature placed where the eye lands. Choose the tile size by the detail you need. Approve a physical sample of the border and the feature together, laid as they will sit. Confirm the layout drawing with the installer so the medallion centers and the border meets the corners. A short list like this prevents the common errors – a medallion off-center, a border that breaks at a corner, a color that disappears at depth.
Sample approval
Because water changes the read, a dry loose tile is not enough. Ask for a laid sample of the border and the feature, ideally a small panel set with the planned grout, viewed in water or under the pool light. Check that the medallion shape is clear, the border tone frames without dominating, and the field supports both. This sign-off is the cheapest point to adjust color or layout, and it gives both sides a reference if a question arises during the install. Treating the sample as the contract settles most disputes before the tile reaches the site.
Common mistakes to avoid
A few errors repeat across pool mosaic jobs. A medallion placed off the visual center reads wrong from the deck. A border broken at a corner looks unfinished. Too many colors across the floor read busy. A pattern too fine for the tile size loses its shape underwater. A field tone too close to the border removes the frame. Each of these is avoidable with the planning steps above and a laid sample before the volume order. The discipline costs little at the design stage and protects the look once the pool is full and the surface is fixed for years.
Working with a designer or supplier
Whether you brief a designer or a supplier, bring the pool shape, the depth plan and a mood – calm, formal, playful. Share reference images of borders and medallions you like, and name the colors you want to avoid. Ask for a layout drawing and a laid sample before you commit. A good partner will flag a motif that will not read at your depth or a border that fights your shape, and will show you the proof before fabrication. Clear brief plus a physical sample is the combination that turns a puzzle of pieces into a pool that looks composed from every angle.
Border width and proportion
Border width should match the pool size. A thin line suits a small spa, while a wide band suits a large pool where a slim edge would disappear. A common rule is to let the border scale with the perimeter so it frames without crowding the field. The width also affects cost, because a wider band uses more of the contrast tile. Checking the proportion on the layout drawing, with the field and the feature in place, shows whether the border reads as a frame or as a stripe before the tile is cut.
Reading the design from the deck
The deck view is the one people notice first. Stand where people will look – the patio, the lounge, the entrance – and picture the floor through a foot of water. A medallion that reads small from the deck may want a larger scale; a border that looks thin up close may want more width. Because the pool is seen from above and at an angle more than from inside, the design should be checked from those angles, not only from the waterline. A layout viewed from the deck catches scale errors that a flat drawing hides.
Pool mosaic puzzle design is built from a field, a border and a feature, composed to the pool shape and read through water and light. If you want to plan a border, medallion and field for your pool, contact our team for layout drawings and laid samples.