
Buying pool mosaic feels straightforward until the cartons arrive and the color reads a shade stronger than the chip, or the grout turns out wrong for a submerged wall. Most of the regret we see comes from a few decisions made too fast, not from the tile itself. This is a plain-language guide to the choices that actually matter, written for someone ordering a pool rather than a tile scholar.
Tile size and the grid
Mosaic comes in small pieces, usually 10 to 25 millimeters across, mounted on a mesh or paper sheet so a wall or floor can be set in panels. Smaller pieces give a refined, detailed surface but more grout lines to keep clean. Larger pieces read calmer and set faster, which can trim labor. For a pool, a mid-size tile is a common sweet spot, detailed enough to feel crafted, large enough not to overwhelm the cleaning routine. The sheet size also matters: a bigger sheet covers ground faster but needs a truer wall, so match the sheet to the surface, not just the look.
Mesh versus paper backing
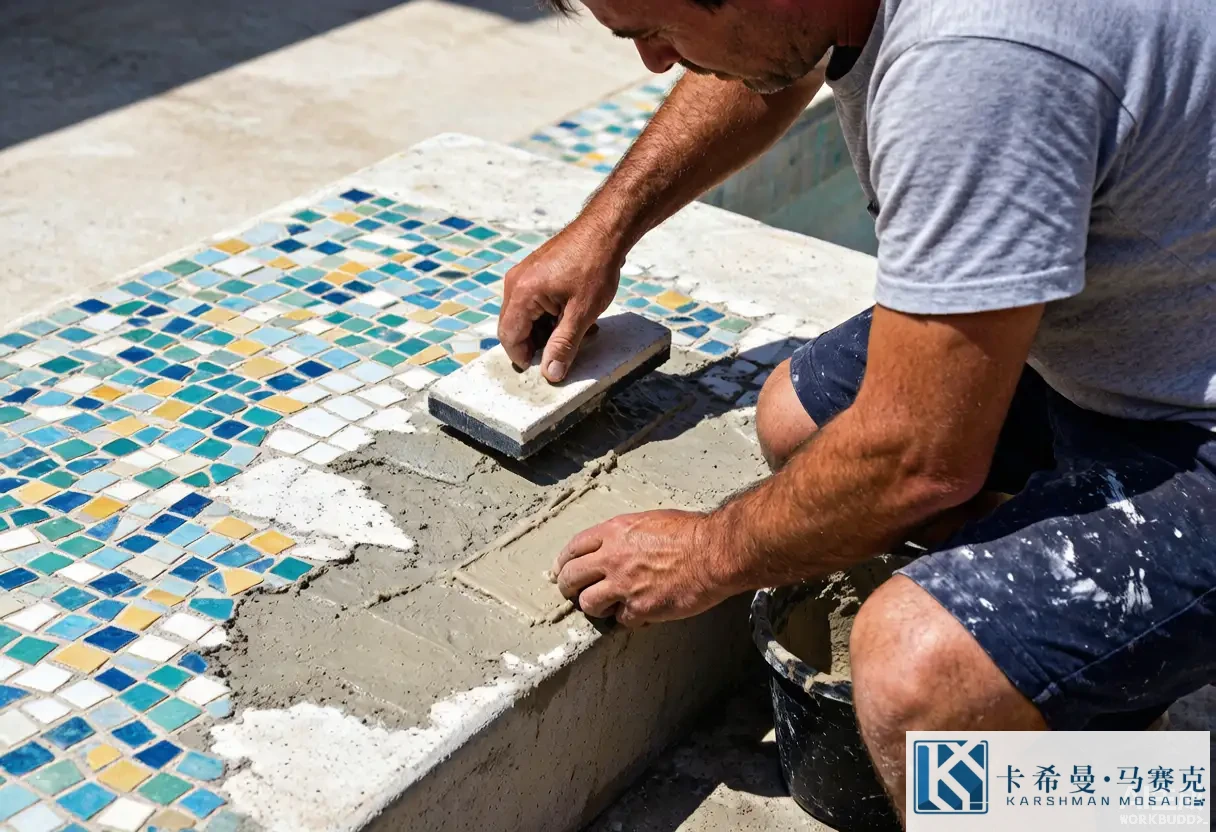
The backing decides how the tile is set. Mesh-backed sheets are set face-up and grouted after, which suits walls and floors alike and is the common pick for pools. Paper-backed sheets are set paper-side out and the paper is soaked off after the adhesive grabs, which can give a flatter face on a floor but needs a careful soak. Both are fine; the point is to know which you’re buying, because the installer sets them differently and a mismatch at the wall shows as uneven joints. Name the backing in the order so the tiler brings the right method.
Color and how water shifts it
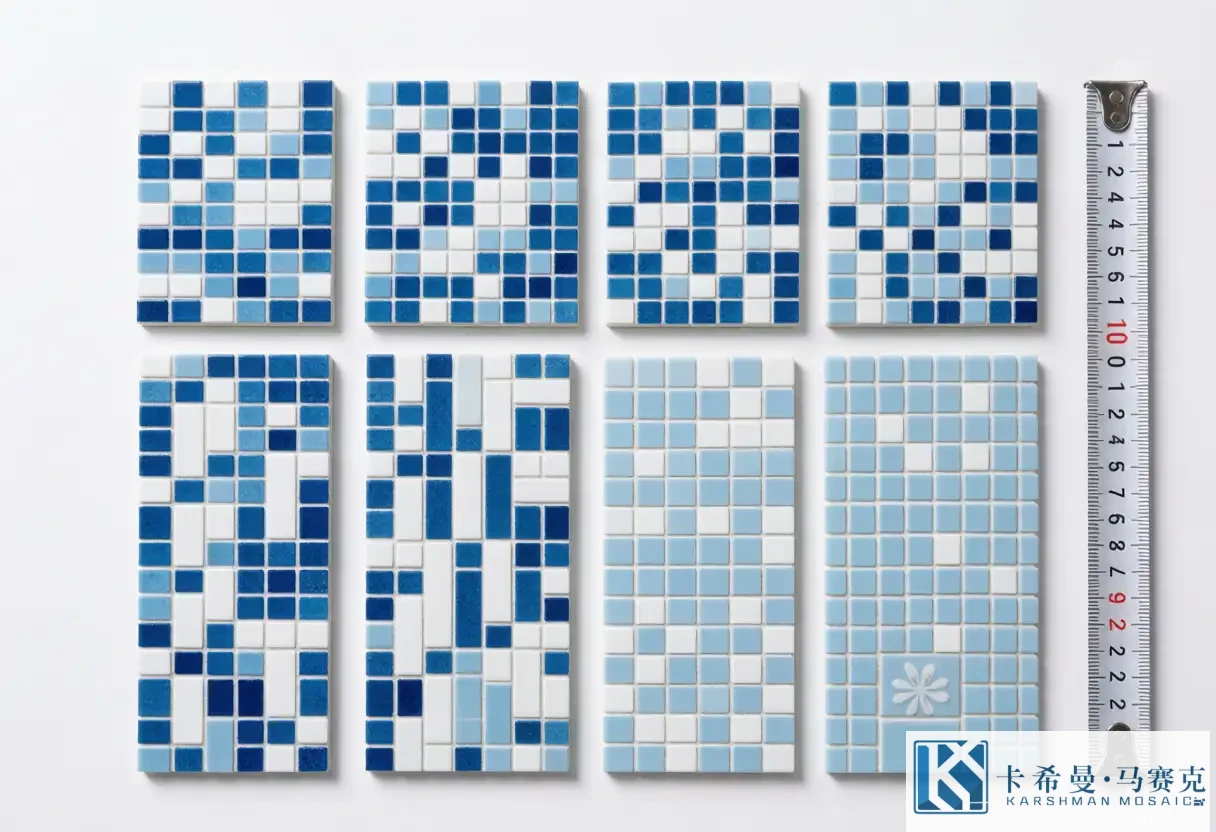
Water deepens and cools every color, so a floor tile that looks pale on the sample will read a shade stronger once submerged. View the sample through a tray of water an inch deep, or better, a laid sample with the joint color included, before ordering. Mid blues and whites hide day-to-day marks and still feel bright; very pale tiles show the waterline more clearly and need a bit more wiping. If you want drama, a deeper blue floor or a single darker band reads bold without committing the whole pool to a strong color.
Grout, the part people skip
Grout is where a pool mosaic job rises or falls, and it’s the line first-time buyers underestimate. The many narrow joints mean grout is visible across the whole waterline and floor. A tonal grout, close to the tile color, lets the pattern read as one surface. A contrasting grout turns the grid into the main feature, which some designs want and others fight. Whichever you pick, use a pool-grade grout rated for submerged use and seal it on schedule; a pool line resists staining and stays easier to clean, which matters underwater more than nearly anywhere else.
Ratings you should ask about
Two ratings are worth a question. The slip rating tells you whether a tile is safe for a walking surface; use a textured or matte tile on any step or deck you stand on, and keep glossy finishes on walls. The absorption grade tells you how the tile behaves in water; a low-absorption glass is the right call for a submerged pool because it won’t soften or stain the way a porous tile can. Ask the supplier for both in writing; a quote with those lines is one you can stand behind if something goes wrong later.
Glossy or matte in a pool
Glossy glass brightens a wall and feels clean, which is why it’s common on pool features, but it shows water spots and needs a wipe after use. Matte or frosted glass hides marks and reads softer, at the cost of some sparkle, and it’s the safer pick for any surface feet touch. Walls can carry glossy; floors and steps should lean textured. Matching the finish to the spot is most of the work in a pool that lives in water, and getting it wrong is the difference between a surface you enjoy and one you police.
Care that takes minutes
Pool care is lighter than people fear. Wipe the waterline the same day splashes land, or at least on a regular pass. Once a week through swim season, a soft brush with a mild cleaner clears the film that water leaves on tiles. Skip abrasive pads and strong acids; they can dull a glossy face and soften grout over time. That’s the whole routine, which is part of the appeal for a surface that sits at the center of the yard all summer.
Ordering without regret
Approve a laid sample in your own light, not just loose chips, and note the grout, the sheet size and the backing. For a gradient or a motif, ask for a sample that includes the full run so you see the seams before they’re in your pool. Order a little extra, a carton or so, so a later repair matches the batch; a patch from a different run can shade off and show as a line you’ll notice every swim. Keep the sample and the grout color on file; a repair years later is easier when the original is documented.
Reading a quote
When a supplier sends a price, check what’s inside it. Does it cover the tile only, or the adhesive, grout and labor too? Is the glass rated for submerged use, or is it a range meant for drier walls? A clear quote lists the sheet size, the joint width, the backing type and the lead time. If those lines are missing, ask. A quote you can read is one you can trust, and it protects you when the cartons arrive and someone needs to confirm they’re the right ones for a pool that holds water.
Lead times and planning
Pool mosaic often ships from a batch run, so a specific color can take a few weeks rather than a few days. If your build is on a summer clock, order early and let the tiles sit in the box until the surface is ready. Rushing a late order can mean a substitute color you didn’t pick, and a waterline in two slightly different blues is the kind of mismatch you see every time you swim. A little planning keeps the finish close to what you approved, and close is what you want in a surface this visible.
When mosaic is the wrong buy
Mosaic isn’t right for every pool. If you have a vinyl-liner or above-ground pool, the structure won’t take it. If the budget is tight across the whole build, spend it on the pump and the surface first and add a waterline later. And if you want a pool you don’t have to think about, a plain plaster finish beats a grid of joints that needs sealing. Mosaic earns its place when you want the pool to feel considered, not when you want the surface to disappear.
A repair that stayed invisible
A client called us after a contractor chipped a step tile during a fence job. Because the original batch and grout color were on file from the first install, we matched the repair to the run and the seam all but vanished. The owner said the easier part was that nobody could tell there’d been a fix. That’s the quiet case for keeping samples and records: a pool is a long-term surface, and the repair you’ll need one day is cheaper when the first order was documented.
What you’re actually buying
Pool mosaic is small glass pieces with color running through the body, not painted on top, which is why the hue stays even as the light moves through the day and the seasons. Knowing that helps you read a sample: hold it to the window and the color should look consistent, not patchy. Patchy color in a sample often points to weak grading at the plant, and that’s a sign to look at another range before you buy by the carton. A consistent sample is the simplest proof you’re getting a pool you’ll still like in five years.
Budgeting the whole job, not just the tile
The tile is often the smaller part of the bill. Adhesive rated for submerged use, pool-grade grout, sealing, and the labor to set small sheets add up, and a pool that needs waterproofing first adds another line. We suggest budgeting the whole system, tile plus setting plus labor, before you fall for a low tile price that leaves the rest uncovered. A clear number up front prevents the surprise where the cartons are cheap and the install triples the spend. If the budget is tight, tile the waterline and steps first and leave the floor for a later finish; that sequence delivers the look without the whole-pool cost in one hit.
Finding a tiler you can trust
A pool is set once, so the hand matters. Look for a tiler who has set glass mosaic underwater, not just on a bathroom wall, and ask to see a finished pool, not a portfolio photo. Check the waterline corners and the step edges, where weak work shows first, and ask how they handle movement joints, because a pool shifts with temperature and a wall without them cracks. A good pool installer will talk about the whole build, the substrate, the waterproofing, the grading, not just the tile. The cheapest quote from a worker learning on your wall is the costly one in the end, because a redo costs more than doing it once, properly.
Sign-off and snagging
When the pool is filled, walk it before you pay the balance. Look at the waterline for even joints, check the steps for visible edges, and confirm the grout color matches the sample you kept. Note anything off and agree the fix before the final payment, because a snag list signed at fill is easier to enforce than one raised a month later. Keep the sample, the grout color and the batch note in the file so a future repair matches. A careful sign-off is the last step that turns an approved tile into a pool you’ll still like in five years, and it’s the step owners skip most often to their regret.
If you’d like to compare pool ranges and see how a tile reads through water, get in touch with our team for sample boards and current lead times.