
A pool mosaic border is a narrow band of patterned tile that runs along the edge of the pool — typically at the waterline, where it meets the coping, or as a trim around steps and spas. It does two jobs at once: it hides the stain line that water leaves behind, and it gives the pool a finished, designed edge instead of a plain seam. For a foreign-trade buyer supplying resorts or villas, a good border is one of the highest-value details you can offer.
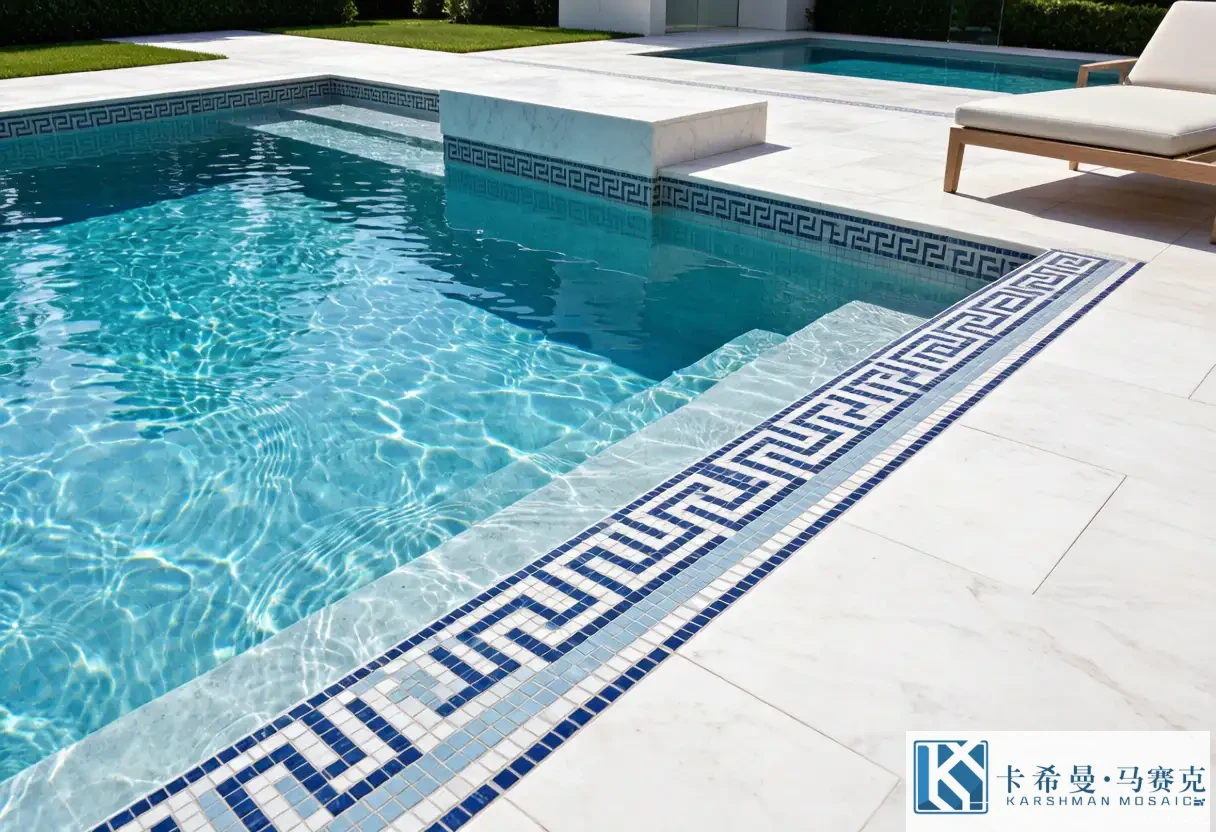
Waterline border vs coping trim
The waterline border sits at the level the water reaches, usually a single row or a few rows of patterned tile. It takes heavy wear, so it needs frost-proof, low-porosity tile and a grout that resists staining. A coping trim, by contrast, runs along the top edge where the deck meets the pool and is more about framing the shape from above. Many projects use both: a calm field tile, a patterned waterline band, and a simpler coping line to tie the whole edge together.
Pattern ideas that hold up
Some borders are perennial favorites because they read clearly and stay current. The Greek key (a continuous square spiral) is crisp and architectural. A wave or scallop band echoes the water itself and suits relaxed, resort-style pools. A rope or twist pattern reads as classic and tidy. For something softer, a simple two-color checker or a dotted line can frame the pool without shouting. The pattern should match the project’s mood: geometric for modern villas, organic waves for beach clubs.
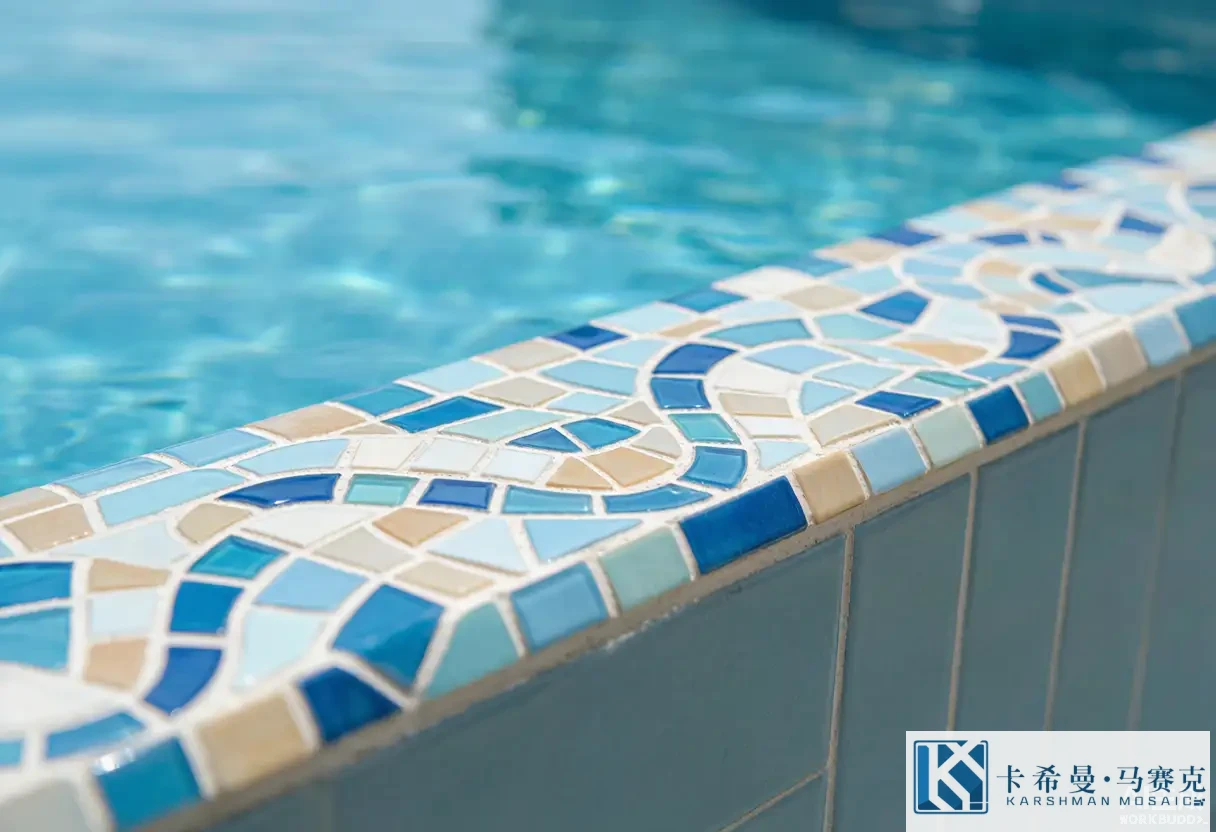
Color coordination
A border works well when it relates to the field tile rather than fighting it. A blue pool with a white-and-blue border feels coherent; the same pool with a busy multi-color band can look crowded. A dependable approach is to take two colors already present in the floor and build the pattern from those, adding one accent if needed. Keep the grout close to the lighter tile so the joints recede and the pattern stays crisp. Test a short sample length on site before committing to the full run.
Installation and care points
Borders demand straight, consistent lines, so the substrate and the first row set the standard for everything after. Use a level reference and lay the band in continuous sheets where possible to avoid drift at the corners. At inside and outside corners, plan the cuts in advance so the pattern meets neatly instead of being chopped. Once installed, the border is cleaned the same way as the rest of the pool; the main task is keeping the waterline free of scale so the pattern stays visible. A routine wipe with a pool-safe solution is enough for most seasons.
Matching the border to the pool shape
A rectangular pool carries a straight border naturally, and corners are the main place the pattern needs careful cutting. Free-form and kidney shapes still take a border well, but the band follows the curve, so choose a pattern that bends gracefully — a wave or rope reads better on a curve than a rigid Greek key, which can look strained around a tight radius. Infinity and vanishing-edge pools often use a minimal border or none at all at the weir, letting the waterline do the work, with the patterned band reserved for the visible return walls.
Cost and lead time
Borders are economical relative to their visual impact because they use a small area of tile to frame a large surface. The main variables are the pattern complexity, the number of colors, and whether the band is a standard width or a custom width to match a specific coping. Production is usually quick for stock patterns and longer for a fully custom design, so confirm the timeline when the tile is specified. Ordering a little extra length covers corners and off-cuts and avoids a mid-job shortage of a specific shade.
Sampling before committing
Because a border runs continuously and is seen up close every day, a short on-site sample is worth the effort. Lay a meter of the chosen pattern at the actual waterline, view it in morning and afternoon light, and check that the grout color behaves as expected. A pattern that looks sharp in a catalog can shift under reflected pool light, and the sample is the cheapest point to change your mind.
A considered pool mosaic border turns a functional edge into a design statement. If you are specifying tile for a new build or a renovation, contact our team for pattern samples, color matching and the trim sizes that suit your pool’s layout.