
Installing mosaic tiles can transform any surface into a stunning visual feature. Whether you are working with ceramic, glass, or stone mosaics, following the right installation process ensures long-lasting results and a clean, professional appearance. This guide walks you through each step, from surface preparation to final grouting.
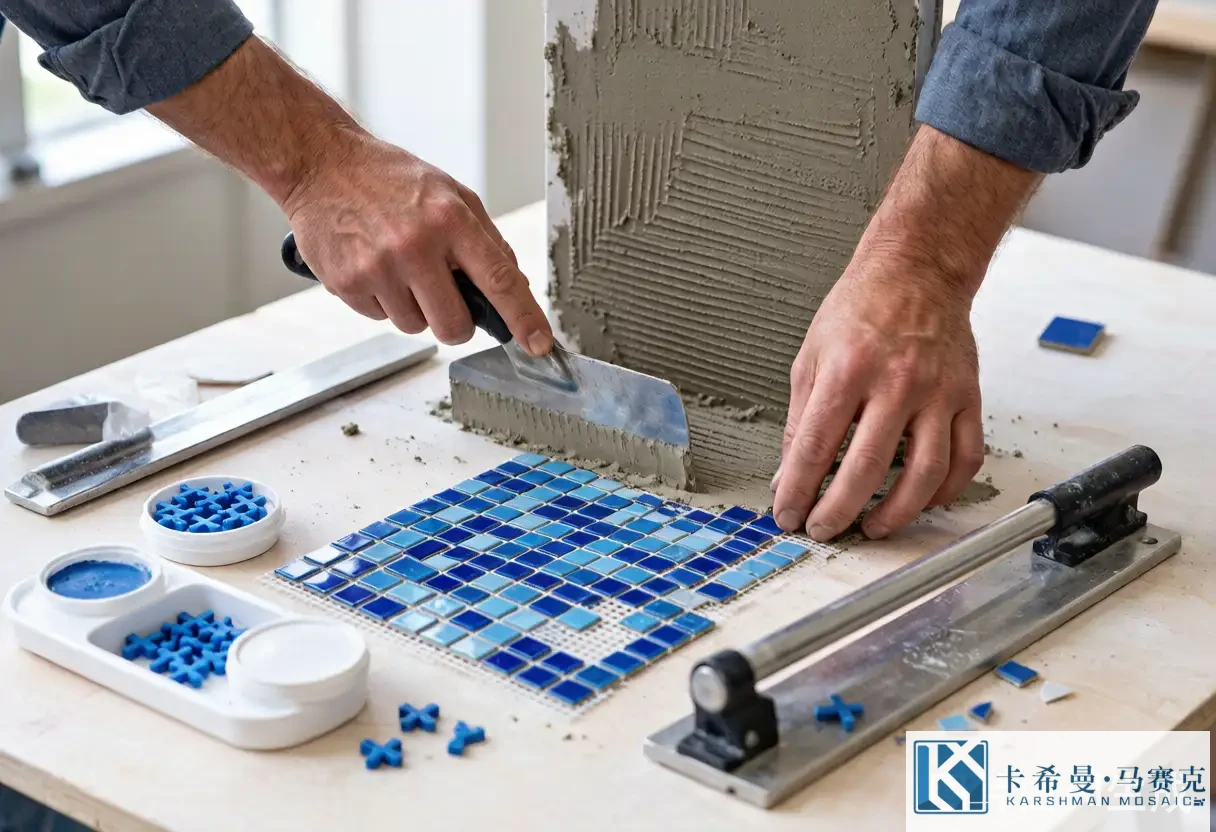
1. Gather Your Tools and Materials
Before starting, make sure you have everything on hand:
- Mosaic tile sheets (mesh-mounted or paper-faced)
- Thin-set mortar (white for glass mosaics, gray for ceramic/stone)
- Notched trowel (3/16″ or 1/4″ V-notch for mosaics)
- Grout (sanded or unsanded, depending on joint width)
- Grout float and sponge
- Tile spacers and leveling clips
- Tile cutter or wet saw
- Measuring tape, level, and chalk line
- Mixing bucket and drill paddle
2. Prepare the Surface
Surface preparation is the foundation of a successful installation. The substrate should be clean, dry, flat, and structurally sound. For walls, use cement backer board or water-resistant dryboard in wet areas. For floors, ensure the subfloor is rigid and level — any flex or unevenness will telegraph through the tiles over time.
Check for flatness with a straightedge. Fill low spots with thin-set and sand down high spots. In wet areas like showers and pool decks, apply a waterproof membrane before tiling to prevent moisture infiltration.
3. Plan Your Layout
Good layout planning minimizes awkward cuts and keeps the design balanced. Find the center of the surface and snap chalk lines to create a grid. Dry-lay a few sheets to visualize the pattern and adjust as needed. Plan so that cut tiles at edges are at least half a tile wide where possible — thin slivers look unprofessional and are prone to cracking.
For patterns like herringbone or chevron, take extra time to map out the repeating unit before applying any mortar.
4. Apply Thin-Set Mortar
Mix thin-set according to the manufacturer’s instructions — it should have a peanut-butter consistency. Using a notched trowel, spread an even layer (about 1/8″ thick) over a manageable area (2-3 square feet at a time). Comb the mortar in straight lines at a consistent 45-degree angle.
Tip for glass mosaics: Use white thin-set to prevent gray mortar from showing through translucent tiles. Back-butter each sheet for full coverage — gaps behind glass tiles are visible and can trap moisture.
5. Place the Tile Sheets
Press each sheet into the wet mortar with a gentle, even motion. Use a grout float or a clean rubber trowel to tap the sheets level — do not press too hard or mortar will squeeze up between tiles. Check alignment frequently with a level and adjust sheets before the mortar skins over.
Use tile spacers between sheets to maintain consistent joint spacing. If the sheets have irregular edges, cut individual tiles to fill gaps and keep the pattern flowing.
6. Make Cuts
For straight cuts on ceramic mosaics, a manual tile cutter works well. For glass mosaics and curved cuts, use a wet saw with a diamond blade. Cut individual tiles from the sheet rather than cutting through the mesh — this gives you more control and cleaner edges.
For outlets and switches, mark the cutout on the sheet and remove individual tiles as needed. Use tile nippers for small adjustments around fixtures.
7. Grout the Tiles
Wait 24-48 hours for the mortar to cure before grouting. Choose grout color carefully — contrasting grout highlights the tile pattern, while matching grout creates a seamless look. For joints under 1/8″, use unsanded grout; for wider joints, use sanded grout.
Mix grout to a smooth, workable consistency. Spread it diagonally across the tiles with a grout float, pressing firmly to fill all joints. Work in small sections (about 10 square feet) and wipe excess grout with a damp sponge at a 45-degree angle. Rinse the sponge frequently and avoid over-wetting the joints.
8. Clean and Seal
After 24 hours, remove any grout haze with a dry cloth or grout haze remover. For natural stone and some ceramic mosaics, apply a penetrating sealer to protect against stains and moisture. Glass mosaics generally do not need sealing, but the grout lines may benefit from a sealer in wet areas.
Common Mistakes to Avoid
- Spreading too much mortar at once — it skins over before you can place tiles, causing poor adhesion.
- Using gray mortar under glass tiles — it dulls the color and shows through translucent materials.
- Skipping the waterproofing step — in wet areas, this leads to mold and substrate damage over time.
- Grouting too soon — mortar that hasn’t cured can shift tiles when you press the grout float.
When to Call a Professional
While many homeowners successfully install mosaic tiles as a DIY project, complex patterns, large-scale pool installations, or commercial applications may benefit from professional installation. A skilled installer brings experience with layout optimization, waterproofing systems, and material-specific techniques that can make a significant difference in the final result.
For premium mosaic tiles and expert guidance on your next project, contact the KARSHMAN team — we are happy to help you choose the right materials and connect you with installation resources.