
Installing mosaic in a swimming pool is not the same job as tiling a bathroom wall. The surface lives in water, faces pool chemicals, and in many regions has to survive freeze and thaw.
A pool mosaic that is set and grouted the right way stays put for years; one that is rushed can loosen and stain. This guide walks through a practical pool mosaic tile installation from prep to final cure.
Whether you are refreshing a small feature wall or covering a full pool interior, the same basics apply: a sound surface, the right materials, and patience at the grout stage.
Step 1: Finalize the Design and Sheet Layout
Before any adhesive comes out, confirm the layout. Mosaic is sold on mesh or paper-faced sheets, and a pool design usually combines field sheets with cut pieces around drains, steps, and fittings. Mark the waterline, the floor center, and any motif location on the shell so the installer knows where each sheet belongs.
For custom work, review a numbered panel drawing with the maker first. Small corrections on paper are cheap; corrections after the tile is set are not.
Step 2: Prepare and Waterproof the Surface
The shell should be clean, sound, and dry to the touch. Remove old adhesive, loose render, and any algae or oil. In concrete or rendered pools, a cementitious waterproofing coat is a sensible extra layer between shell and tile, because water that reaches the substrate is what causes long-term problems.
Let the waterproofing cure fully before tiling. Trapped moisture under the adhesive leads to bond failure later.
Step 3: Choose a Pool-Grade Adhesive
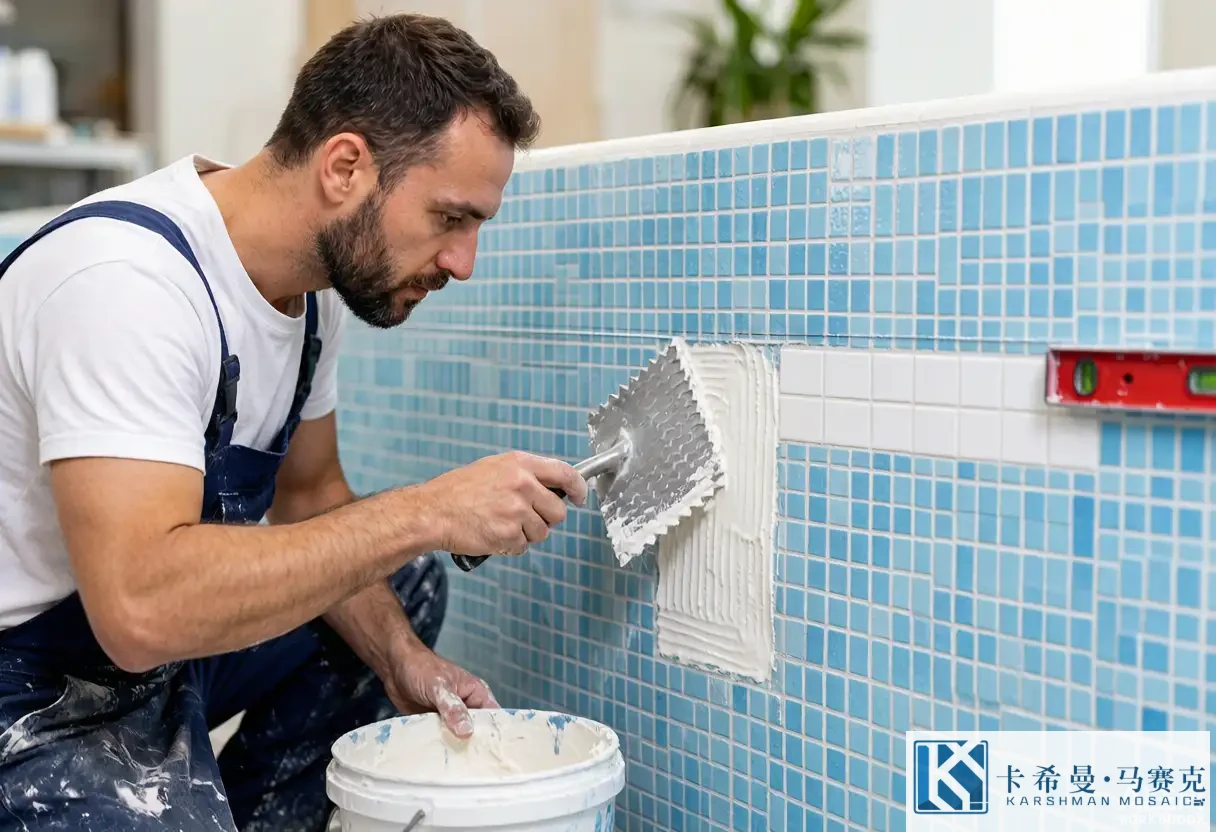
Standard wall tile glue is not built for constant immersion. Use a flexible, submersible-grade adhesive rated for pools and compatible with your tile (glass needs a non-staining formula).
The adhesive should resist pool chemicals and movement from temperature changes, so the bond holds through seasons of use.
Apply with a notched trowel sized to the tile, and work in manageable sections so the open time of the adhesive is not exceeded.
Step 4: Set the Mosaic Sheets
Press each sheet firmly into the adhesive with a slight twist, then beat it with a rubber mallet over a flat board so every chip beds evenly. Keep the sheet edges aligned so the joints between sheets stay narrow and regular. A level or straightedge across the surface catches high spots early.
For paper-faced sheets, the paper faces out and is soaked off later; for mesh-backed sheets, the mesh goes against the wall. Know which type you have before you start.
Step 5: Cut and Fit Around Drains and Curves
Pools are full of awkward shapes—rounded steps, skimmers, light niches, and main drains. Cut individual chips or short strips to fit these by hand rather than forcing whole sheets. A clean fit here is what makes the finished pool look considered rather than cobbled.
Take extra care around fittings: leave the manufacturer’s specified gap so seals and covers sit flush.
Step 6: Grout With Epoxy
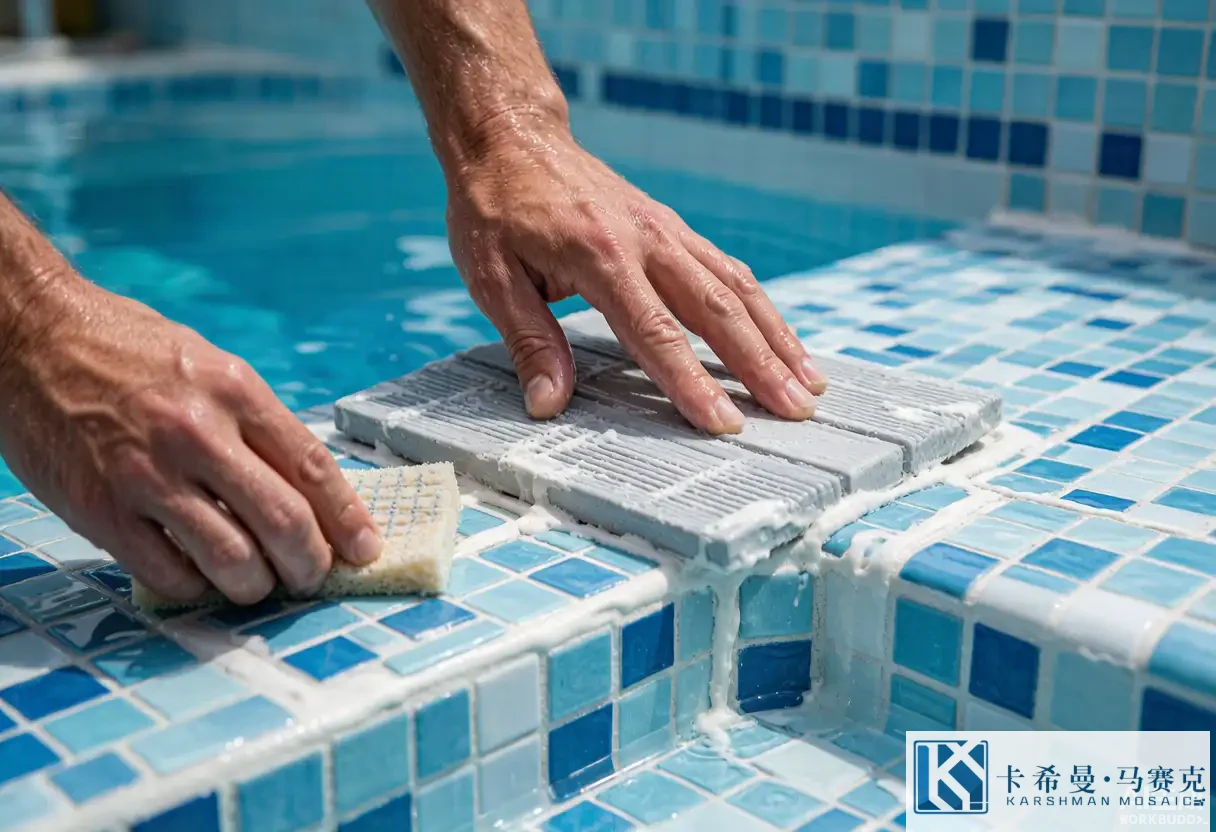
Pools call for an epoxy or high-performance grout that will not break down in water. Cement grout alone can absorb water and stain; epoxy resists chemicals, stains, and movement far better. Work the grout into every joint, then wipe the surface with a damp sponge in straight passes, rinsing often.
A haze left on glass reads as a film in sunlight, so a thorough final buff with a clean, dry cloth pays off.
Step 7: Cure, Fill and Inspect
Give the adhesive and grout the full cure time the product specifies before filling the pool. Filling too early can weaken the bond and cloud the water. Once full, inspect the surface at the waterline and in the corners for any missed joints or loose chips, and touch those up while the tile is still easy to reach.
A careful installation is the difference between a pool that looks new for a season and one that stays sharp for years. For help planning a pool mosaic build, visit our contact page to talk with our team.